Latex FiguresFrom looking at my log files, I've noticed a number of people searching for information about latex figures. I hope they haven't been too disappointed with the sentence or two I wrote about that. I've decided to write something a little more in depth. Dealing with images and figures in latex was the most difficult part of formatting my thesis. I learned a few things along the way, such as don't take a screen shot of your matlab figures. Either save them as figures and convert in gimp, or export as postscript from matlab if you can. Otherwise, you'll end up with low resolution images. I also learned a little bit about positioning images in figures, changing captions, and dealing with multi-page figures.
There are a couple ways to build a pdf from a tex file. The first
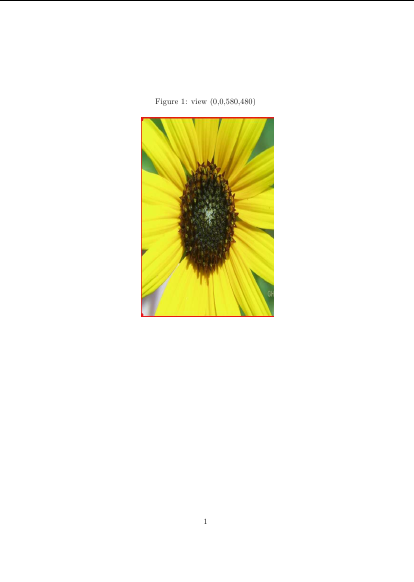
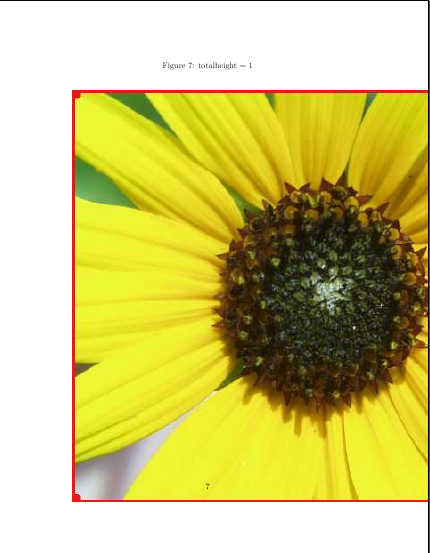
requires you to build a ps file first. The code for these images is \begin{figure}[htb] \caption{view (0,0,580,480)} \begin{center} %left,bottom,right,top \includegraphics[totalheight=1\textheight, width=1\textwidth,viewport=0 0 580 480,clip]{flower} \end{center} \end{figure} \clearpage Make sure to move the caption and label outside the center environment. It doesn't appear to matter in my current version of latex. But in the version I used for my thesis, if I put the label inside the center environment, the reference would be wrong. The interesting statement here is \includegraphics[totalheight=1\textheight, width=1\textwidth,viewport=0 0 580 480,clip]{flower}. This says to make the image fill the width and height of the text area on the page. The viewport clips the image. The first number is pixels from the left. Next is from the bottom, then to the right, and final to the top. Often, you'll have to set the viewport, or only a piece of the image will display. It depends on the original format of the image. Also notice I didn't specify an extension for the image file name. I put flower.eps and flower.pdf (using ps2pdf) in the directory. If you use the graphicx package, don't specify an extension with includegraphics and it will figure out if you want the (e)ps or pdf file.
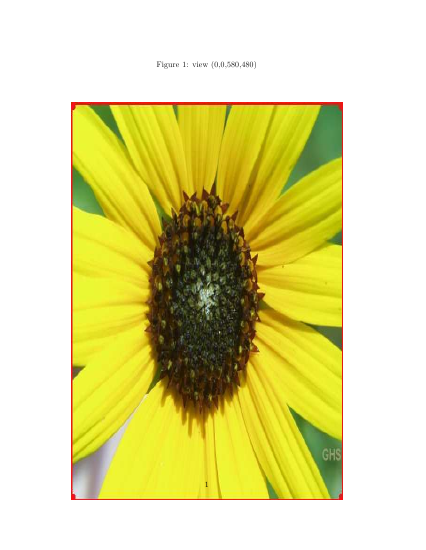
I clipped the photo a little short on top and right sides in the next
image. Notice the red border isn't showing.
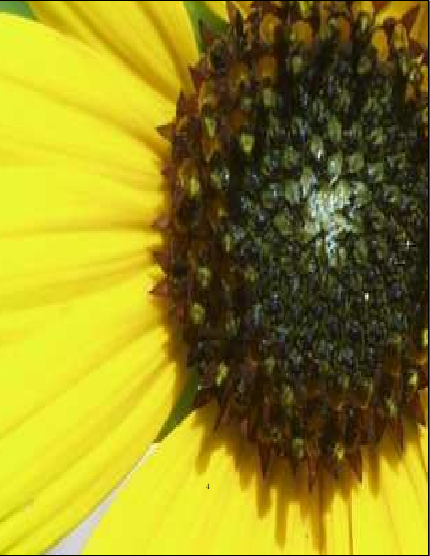
Next I clipped it on all sides. It's clear now that the physical size
of the image is the same, but the image has been resized to fit. The
only change between that and the next image is that I removed clip.
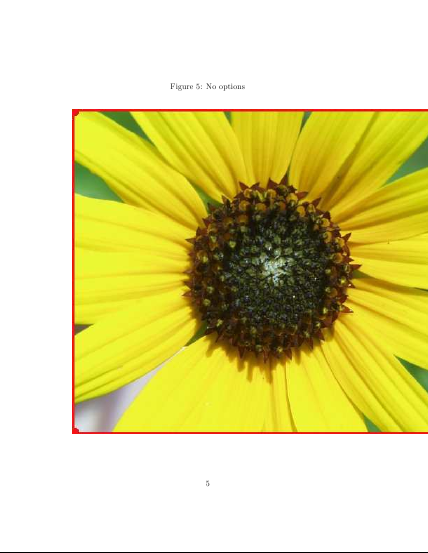
Instead of clipping the image at the viewport boundary, the image was
resized within the physical boundary but the rest of it was still
displayed. In this case it covered the whole page.
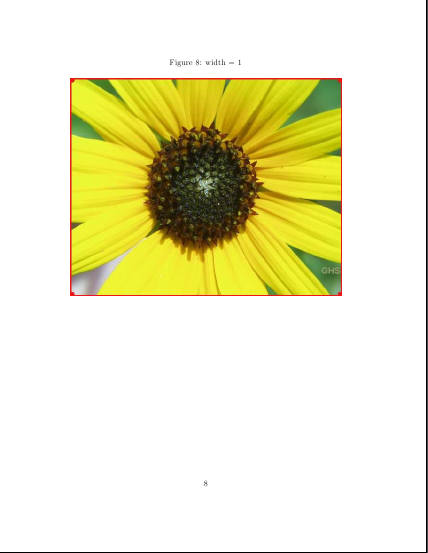
Then I removed the includegraphics options altogether. After that, only the viewport
was removed. Following that are image with
only the height specified and only the width, respectively.
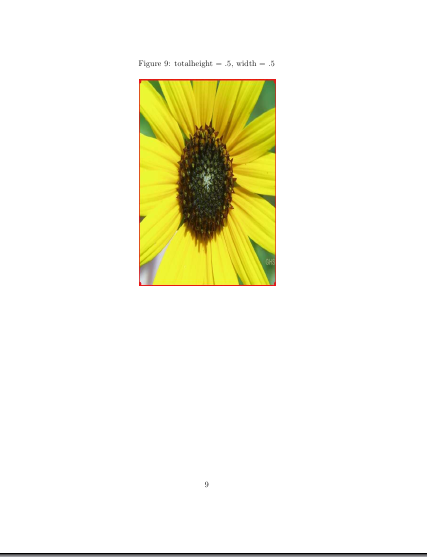
This last one is with the height and width set to .5. The entire
image is still displayed, but it's smaller.
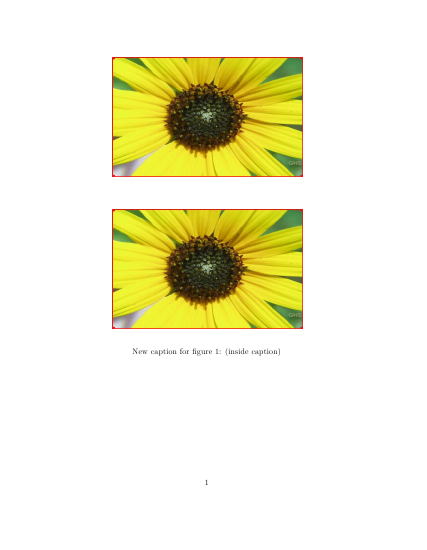
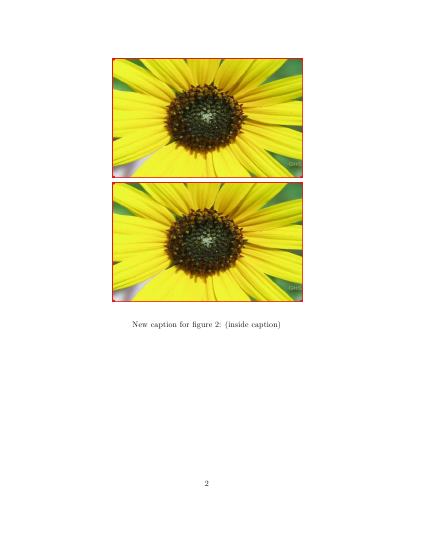
You might get a silly idea in your head, as I did, that you want to change the way captions work, or you want to display multiple images in one figure that may span more than a page. The following code does two new things. It changes the start of the caption by redefining \fnum@figure. If you do this, you have to remember to change it back later. It also puts two images on one page by using separate figures. The problem is there is a lot of space between the figures. \makeatletter \renewcommand{\fnum@figure} {New caption for figure \thefigure} \makeatother \begin{figure}[htb] \begin{center} \includegraphics[totalheight=.3\textheight, width=.7\textwidth,viewport=0 0 580 480]{flower} \end{center} \end{figure} \begin{figure}[htb] \begin{center} \includegraphics[totalheight=.3\textheight, width=.7\textwidth,viewport=0 0 580 480]{flower} \end{center} \caption{(inside caption)} \end{figure} \clearpage
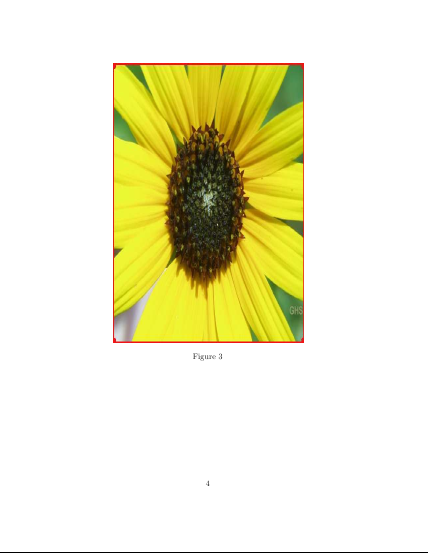
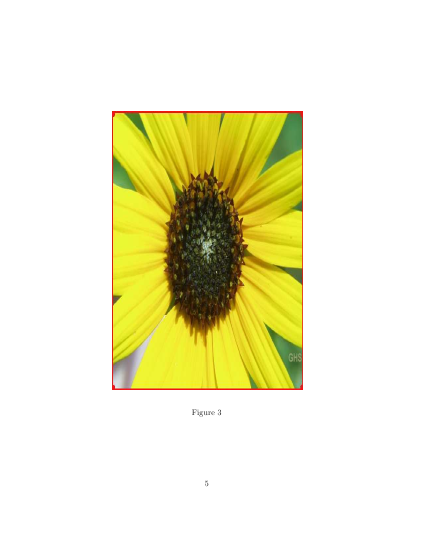
Two figures
\begin{figure}[htb]
\begin{center}
\includegraphics[totalheight=.7\textheight,
width=.7\textwidth,viewport=0 0 580 480]{flower}
\caption[]{}
\end{center}
\end{figure}

\begin{figure}[htb]
\ContinuedFloat
\begin{center}
\includegraphics[totalheight=.7\textheight,
width=.7\textwidth,viewport=0 0 580 480]{flower}
\end{center}
\caption[]{}
\end{figure}
\clearpage
One figure, two images The default latex install doesn't come with the subfig package. Here are the steps I took in gentoo to install it. I had to first install the latest caption package before subfig would build. Your experience may be different. You can also put the sty files in the directory with your latex file, but you'll need to do a system-wide install if you want to be use the packages from anywhere. First, make sure you have a2ps. If not, emerge a2ps. Unzip the caption package and follow the directions here to build. Copy caption.sty, caption2.sty, and caption3.sty to /usr/share/texmf/tex/latex/caption. You might want to backup any caption files allready in there. Run texhash. Unzip the subfig package and type make. Make a subfig directory in /usr/share/texmf/tex/latex/. Copy subfig.sty there. And run texhash again. That should be it. Resources |